Follow this tutorial to learn how to quickly start using the Wizata Python toolkit. With this article you will learn how to create your first Python script and how to execute it on Wizata.
Installation
Open your favorite python IDE and create a new project. Make sure you configure your environment to use Python 3.12 version.
By default Wizata was supporting Python 3.9 only. Starting v11.3, it will be based by default on Python 3.12. Additionnally special builds with Python version 3.11 are possible.
For more information, you can check our dedicated article on upgrading your solution Python version
Currently, there are two different versions that can be installed:
- The default package contains every core module to communicate with the API.
- The complete package also contains extra modules to create Machine Learning scripts and tests.
To install Wizata python toolkit package, set the requirements or use pip:
# For default package
pip install wizata_dsapi

# For extra modules package
pip install 'wizata_dsapi[all]'
If you are using Windows terminal you may need to use double quotes to install extra modules (pip install "wizata_dsapi[all]"). For Linux/Unix environments, it is a good practice to use simple quotes (pip install 'wizata_dsapi[all]') to protect special characters.
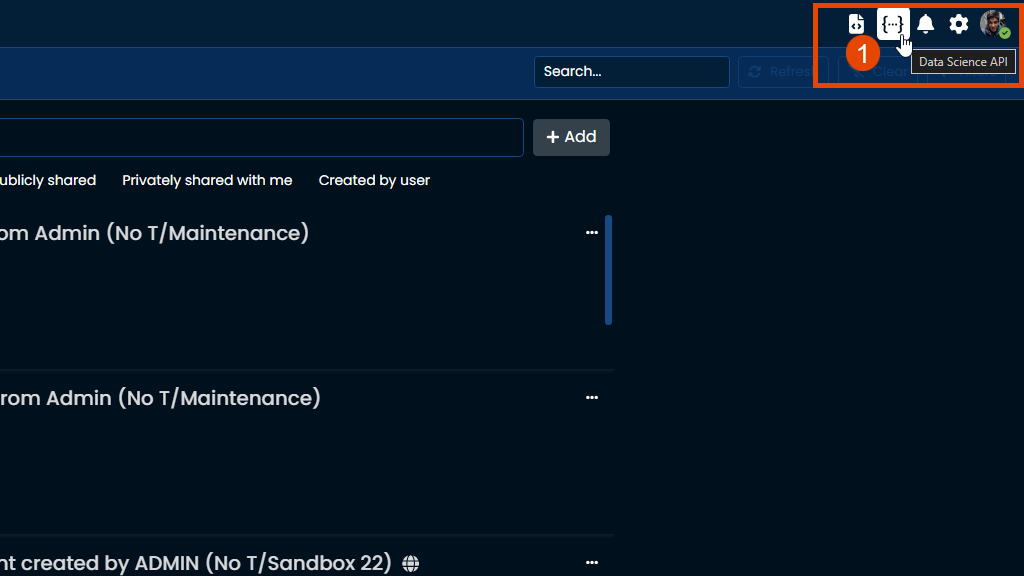
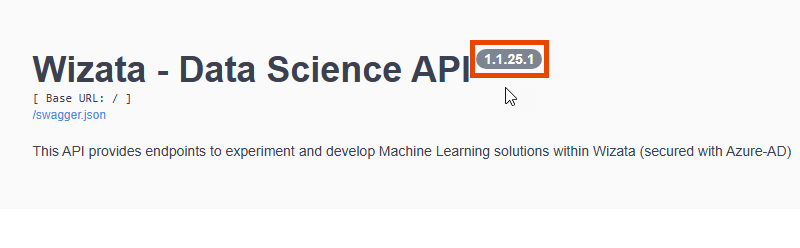
You should match package version with API version. Navigate to DS API root page to see API version on swagger.
e.g. wizata_dsapi==1.4.0 or wizata_dsapi[all]==1.4.0
You can verify the API version of your installed package using version tag.
import wizata_dsapi
print(wizata_dsapi.__version__)
Installation on MacOS M1 and M2 chip may requires additional steps to set all requirements.
Configuration
To use the toolkit you will need to configure Wizata tenant’s URL and provide authentication credentials. You can pass these parameters directly in the code when creating an API client or use environment variables (recommended for security).
The tenant’s domain must be specified using the following environment variable:
WIZATA_DOMAIN=<domain_name_of_ds_api>Authentication Methods
There are two authentication modes:
- Interactive Mode – Uses a browser prompt for user authentication. Recommended for on-demand scripts or custom applications. This mode leverages Azure Active Directory (AAD) to authenticate users interactively via a browser.
| Variable Name | Description | Example Value format |
|---|---|---|
| WIZATA_TENANT_ID | The unique identifier (UUID) of your Azure Active Directory tenant. Format:xxxxxxxx-xxxx-xxxx-xxxx-xxxxxxxxxxxx | 123e4567-e89b-12d3-a456-426614174000 |
| WIZATA_CLIENT_ID | The Application (client) ID registered in your Azure AD. Format: xxxxxxxx-xxxx-xxxx-xxxx-xxxxxxxxxxxx | 123e4567-e89b-12d3-a456-426614174001 |
| WIZATA_SCOPE | The scope defining the API permissions your application is requesting. Typically a URL or identifier. | 123e4567-e89b-12d3-a456-426614174002/.default |
import os
import wizata_dsapi

if __name__ == '__main__':
    client = wizata_dsapi.WizataDSAPIClient(
        tenant_id=os.environ.get('WIZATA_TENANT_ID'),
        client_id=os.environ.get('WIZATA_CLIENT_ID'),
        scope=os.environ.get('WIZATA_SCOPE'),
        domain=os.environ.get('WIZATA_DOMAIN')
    )
    client.authenticate()
API Keys Mode – Uses client credentials for automated scripts, notebooks, or daemon applications.
API Keys mode is recommended if you are using a notebook or a daemon/service app. Permissions are defined as corresponding App User within the platform.
| Variable Name | Description | Example Value format |
|---|---|---|
| WIZATA_TENANT_ID | The unique identifier (UUID) of your Azure Active Directory tenant. Format:xxxxxxxx-xxxx-xxxx-xxxx-xxxxxxxxxxxx | 123e4567-e89b-12d3-a456-426614174000 |
| WIZATA_CLIENT_ID | The Application (client) ID registered in your Azure AD. Format: xxxxxxxx-xxxx-xxxx-xxxx-xxxxxxxxxxxx | 123e4567-e89b-12d3-a456-426614174001 |
| WIZATA_CLIENT_SECRET | The client secret (a string) associated with your application in Azure AD. Typically a long alphanumeric string. | s3cr3tC0d3!@#456i |
By using API Keys you don’t need to create a client and can directly use the API function to access it.
import wizata_dsapi
wizata_dsapi.api().<function>()
In both case it is advisable to contact your system administrator to obtain the necessary configuration details.
Sample Query
To get started, you can query data to retrieve a pandas.Dataframe.
The DS API client offers many ways to query data. You can use query method/function of wizata_dsapi.api() to query data.
Here’s a sample request, replace hardware IDs and datetime by the one you would like to use.
from datetime import datetime
import wizata_dsapi

my_dataframe = wizata_dsapi.api().query(
    datapoints=["hardware_id_01","hardware_id_02"],
    start=datetime.strptime("2023-01-01", "%Y-%m-%d"),
    end=datetime.strptime("2023-01-02", "%Y-%m-%d"),
    interval=60000
)
You should consider using interval and time frame suitable for your data. Querying big data frame might impact your environment performance.
Supported Operations
DS API can be used to do many things, within your Python environment you can always use the following command to verify supported operations :
wizata_dsapi.api().info()This will print current package version, supported operations by entity and other information.
Here’s a non-exhaustive list of DS API capabilities and where to start:
- Manipulate datapoint and twin within the digital twin.
- Query data to receive a formatted dataframe with Time-Series information.
- Creating scripts to be used within experiments and pipelines.
- Start building your first pipeline within your solution.
- Execute existing pipelines.