Editing twin properties
The platform offers a wide range of customizable options to adjust your twin units to your specific needs. Among the possibilities, you can choose a meaningful icon that represents the digital twin item on the chart, select a color for the icon, and even add location details for the twin. These options help make your twin units more intuitive and aligned with your operational context.
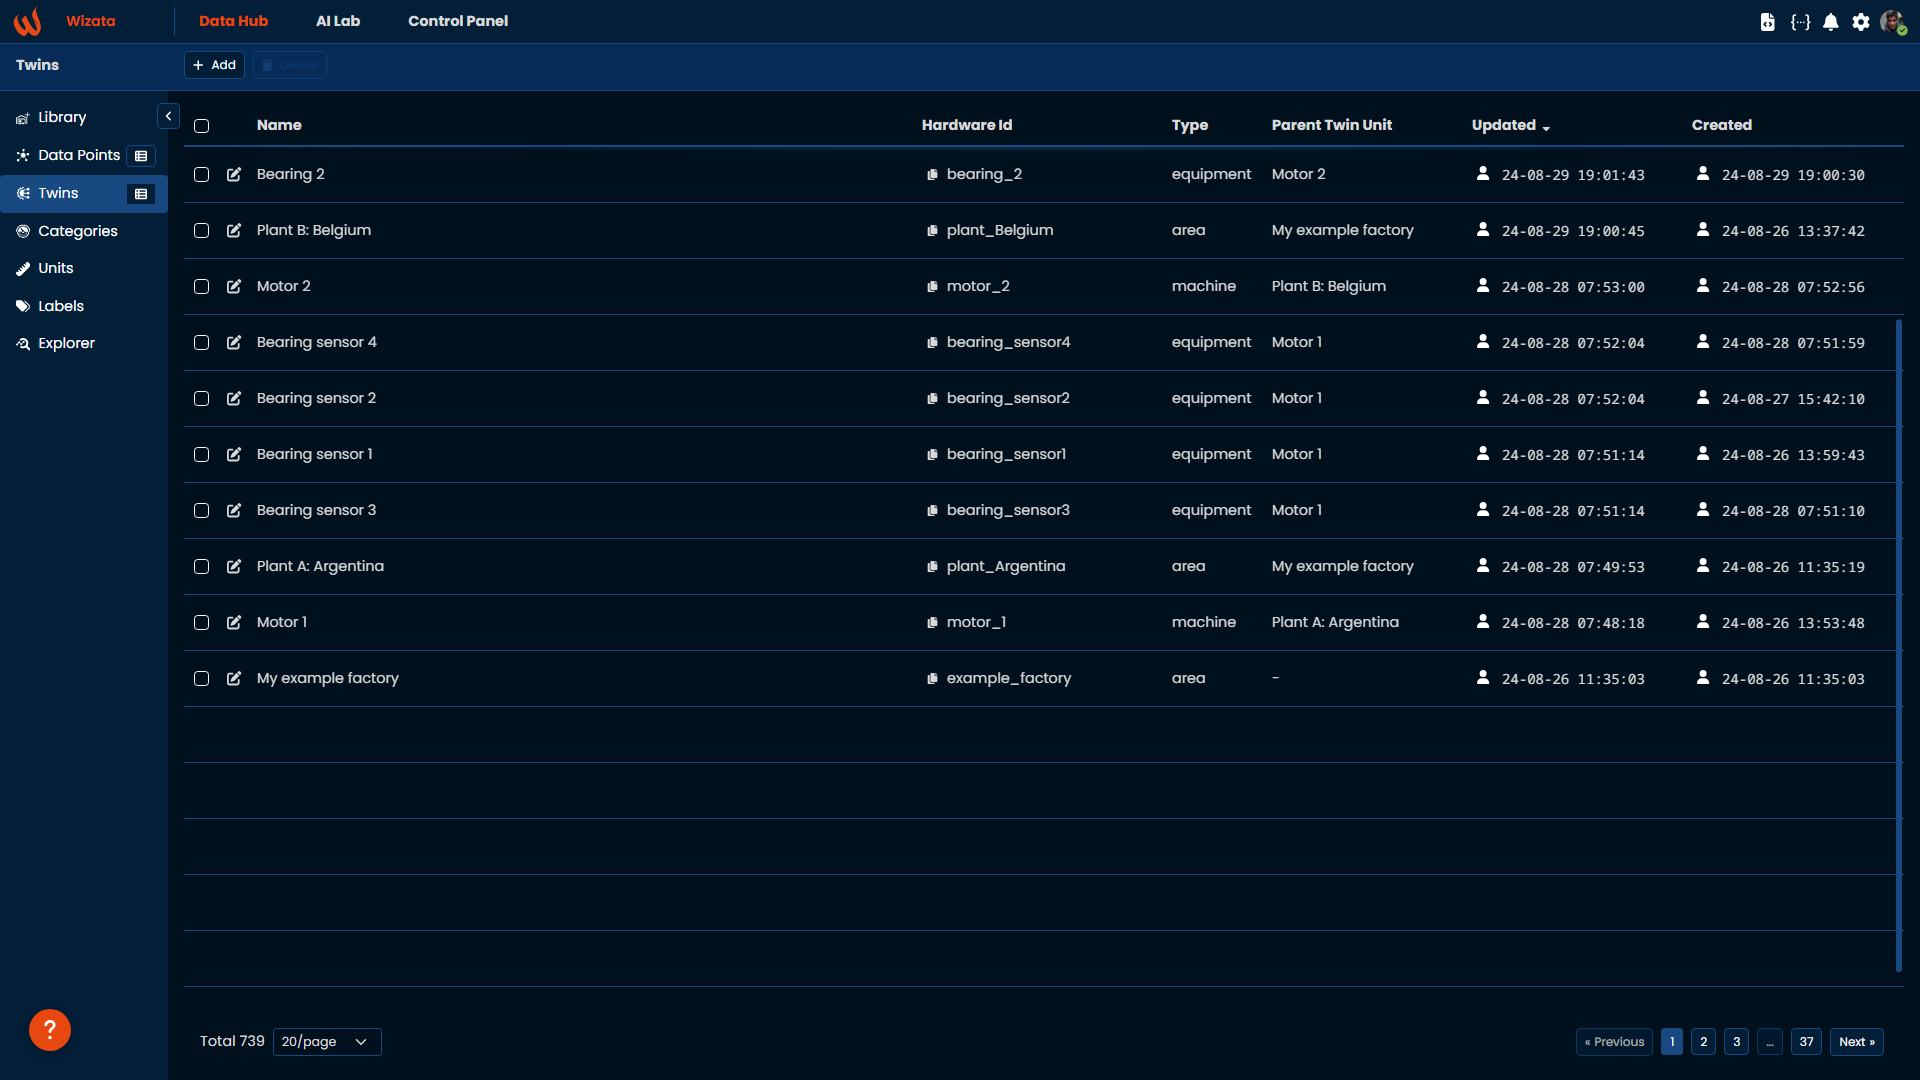
To recap the example from the previous article, we created a default equipment twin that now needs modification to include additional properties. To edit the properties of a Twin, right click on the twin icon and click on Edit, or simply click on the pencil icon in the list view.

Editing twin properties
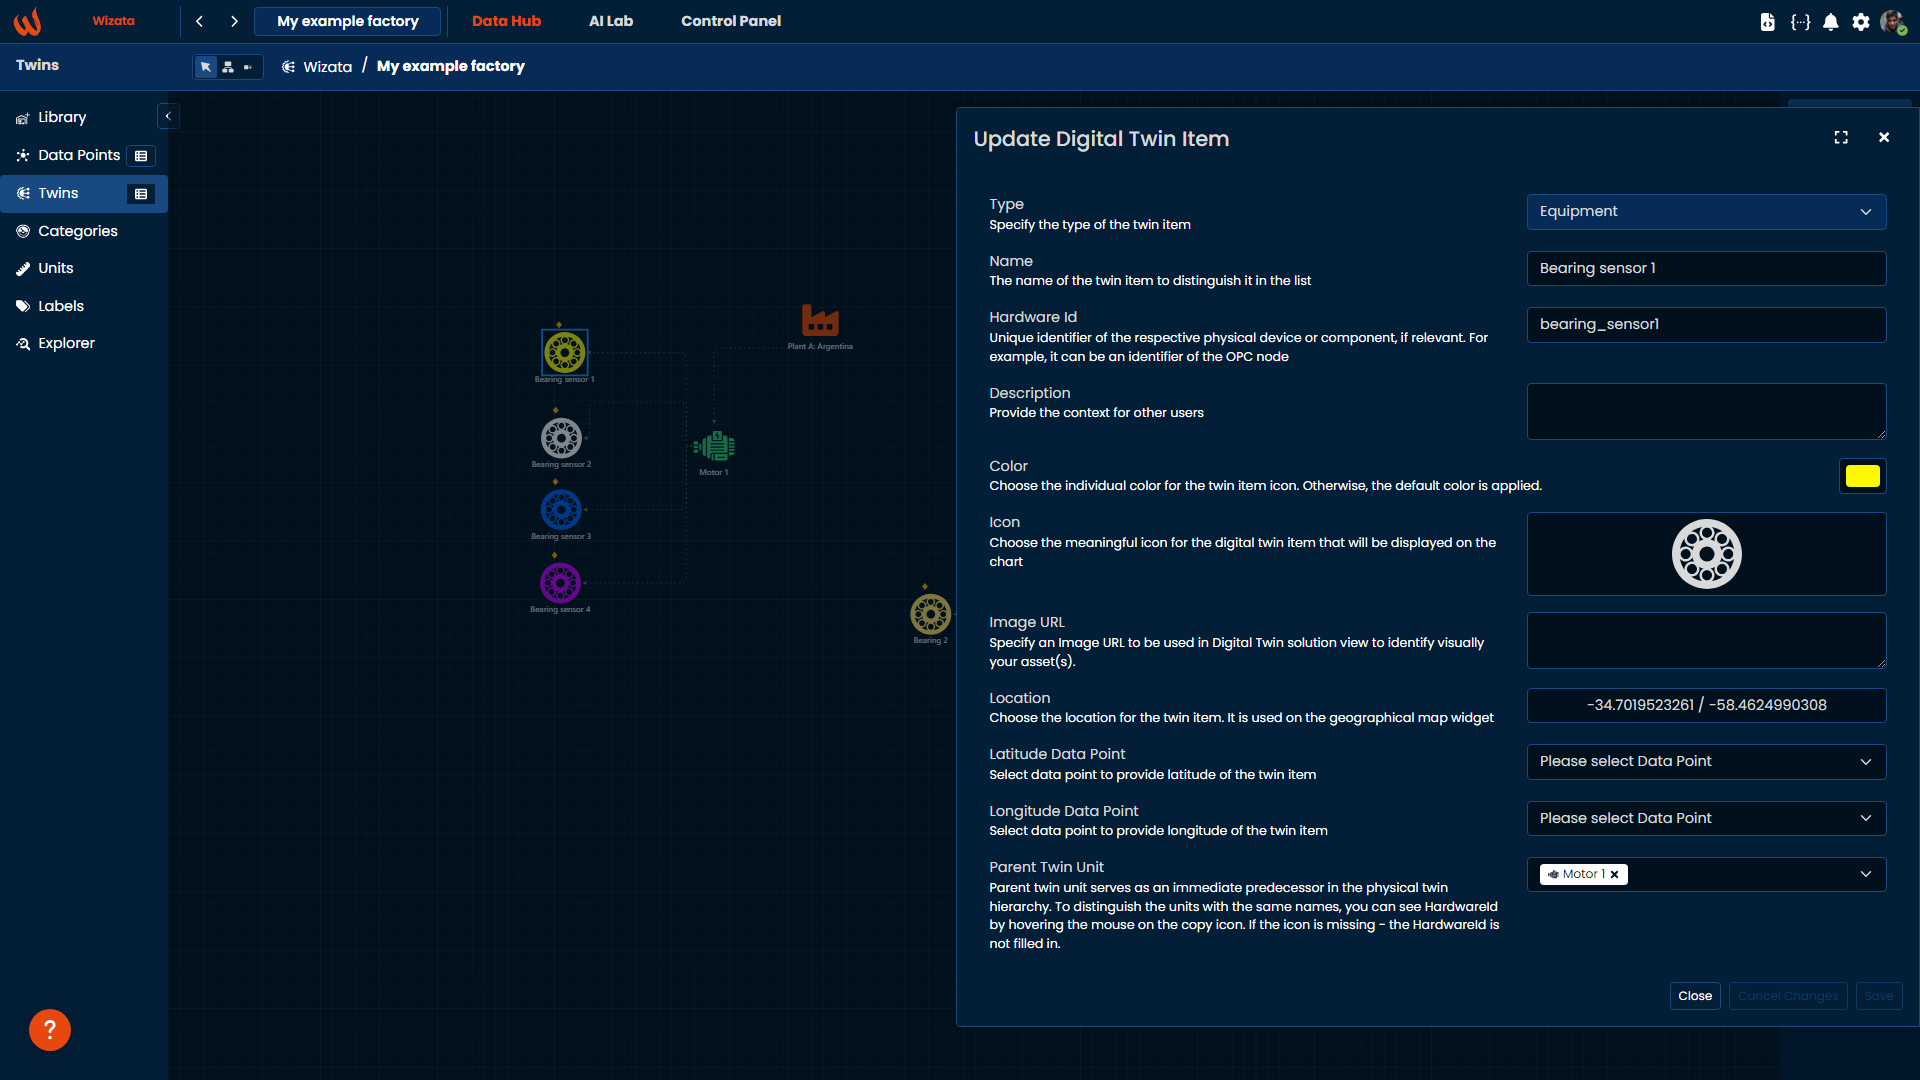
We will visualize all the available properties for editing in the right-side panel. In our case, we will update the equipment twin properties to align with our real bearing sensor connected to the motor, adding a new name and hardware ID, a representative yellow icon, and the current location.

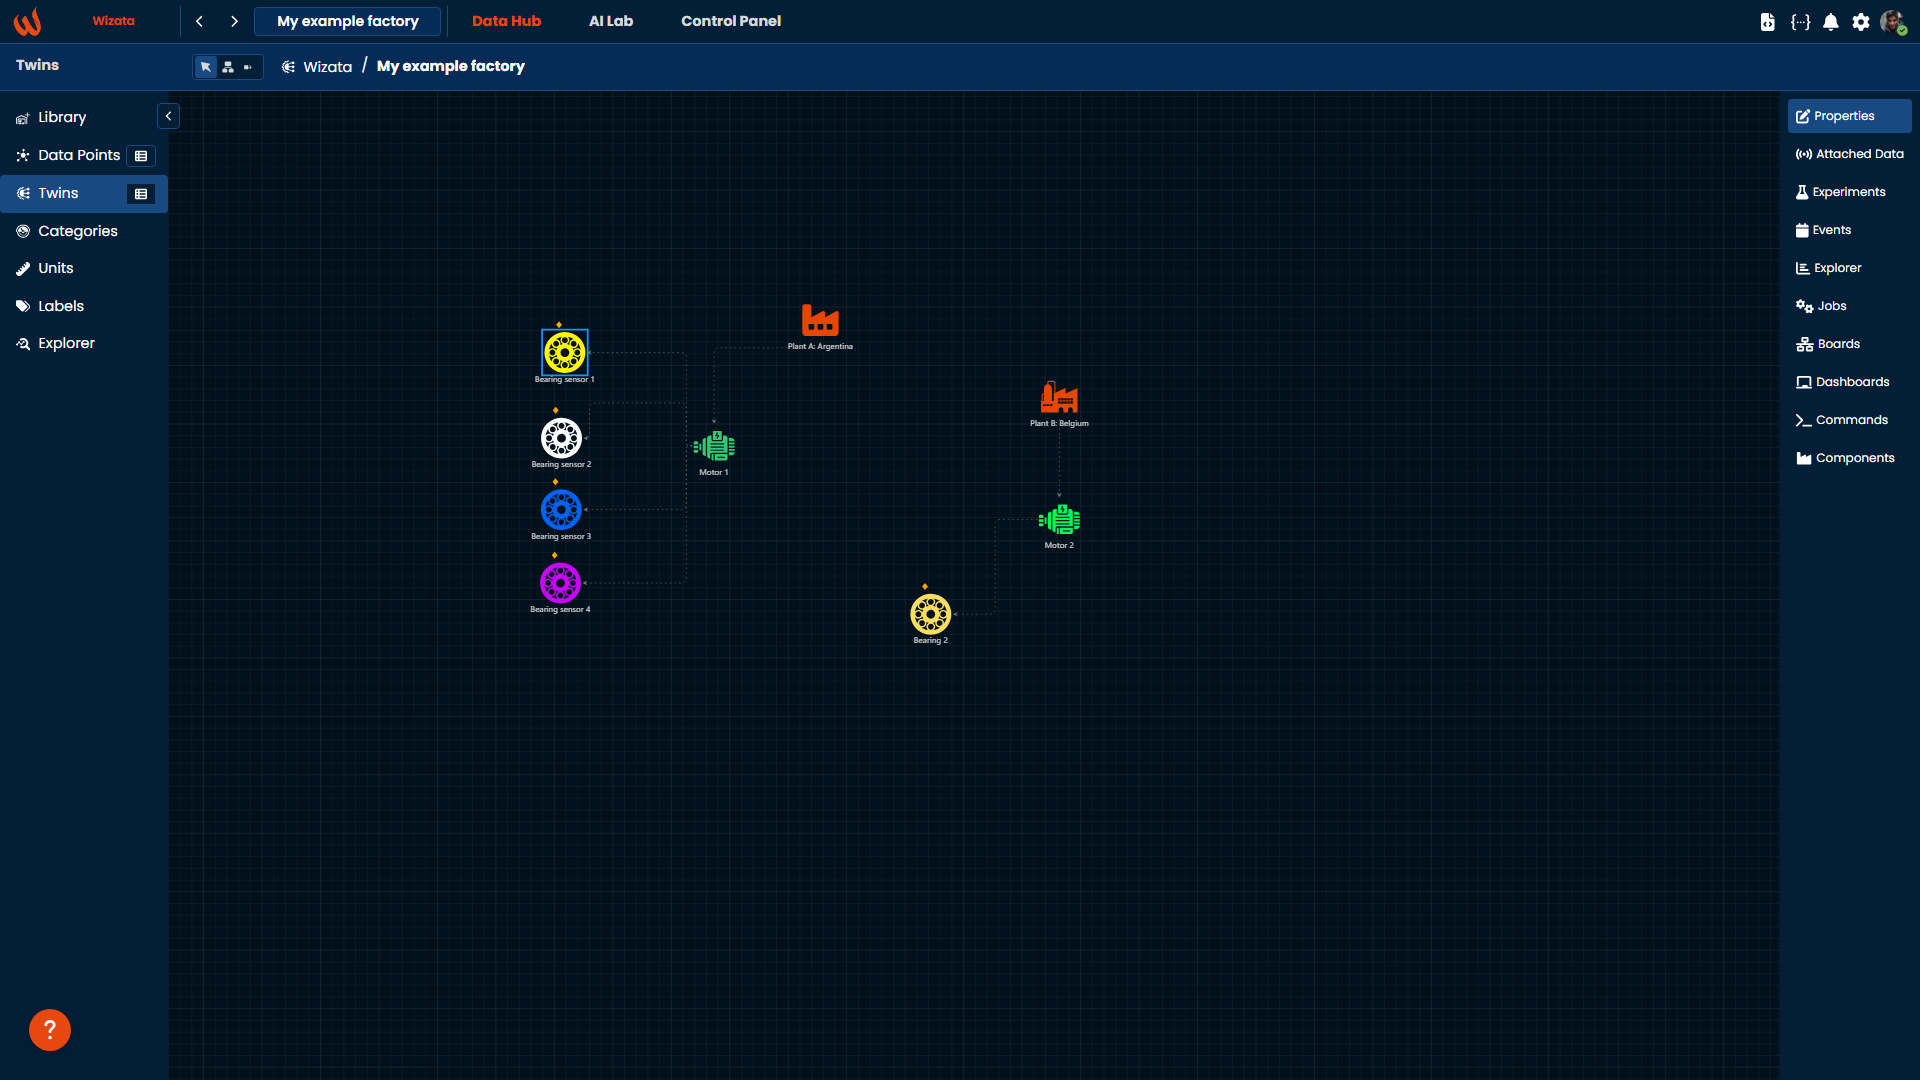
Once we finished adding the properties, we will hit Save to see the results on the chart:

We can also edit a twin unit created via Python DSAPI. For this example, we will create and edit a second bearing connected to our motor 1, using the following logic:
motor_parent = wizata_dsapi.api().get(key="motor_1", entity=wizata_dsapi.Twin)

bearing1 = wizata_dsapi.api().get(key="bearing_sensor1", entity=wizata_dsapi.Twin)

bearing2 = wizata_dsapi.Twin(
    name="Bearing sensor 2",
    hardware_id="bearing_sensor2",
    parent_id=motor_parent.twin_id,
    icon=bearing1.icon, # Using the same icon we had on bearing 1
    color="#FFFFFF" # Using white HEX code
)

wizata_dsapi.api().upsert_twin(twin=bearing2)
In this case, we are using the
color="#FFFFFF"but you can put whatever hex color you wantWe also have a technical documentation for the Twin object in our Python SDK documentation
What we have next to discuss in the following article is how to attach datapoints to our created twin units, that will enable to later work with the information from these units in the AI Lab.
Updated 3 months ago