Pipeline Images
A pipeline image is a downloadable package that encapsulates every step that might be composed inside a specific pipeline, such as scripts, trained models and the pipeline JSON file itself. This comprehensive bundle ensures that all necessary components are included for seamless execution.
By creating a pipeline image, we can simplify the way we interact with pipelines using the Wizata Python toolkit. This allows for efficient configuration of triggers and executions, providing faster responses. Additionally, once the pipeline images are downloaded, they can be executed offline, without any need for an internet connection, enabling robust operations directly at the Edge.
Please remember that a pipeline image is mandatory on the Edge, but optional on the cloud. There is a specific article where we talk about the Wizata Edge connectivity on the platform.
Viewing Pipeline Images from the UI
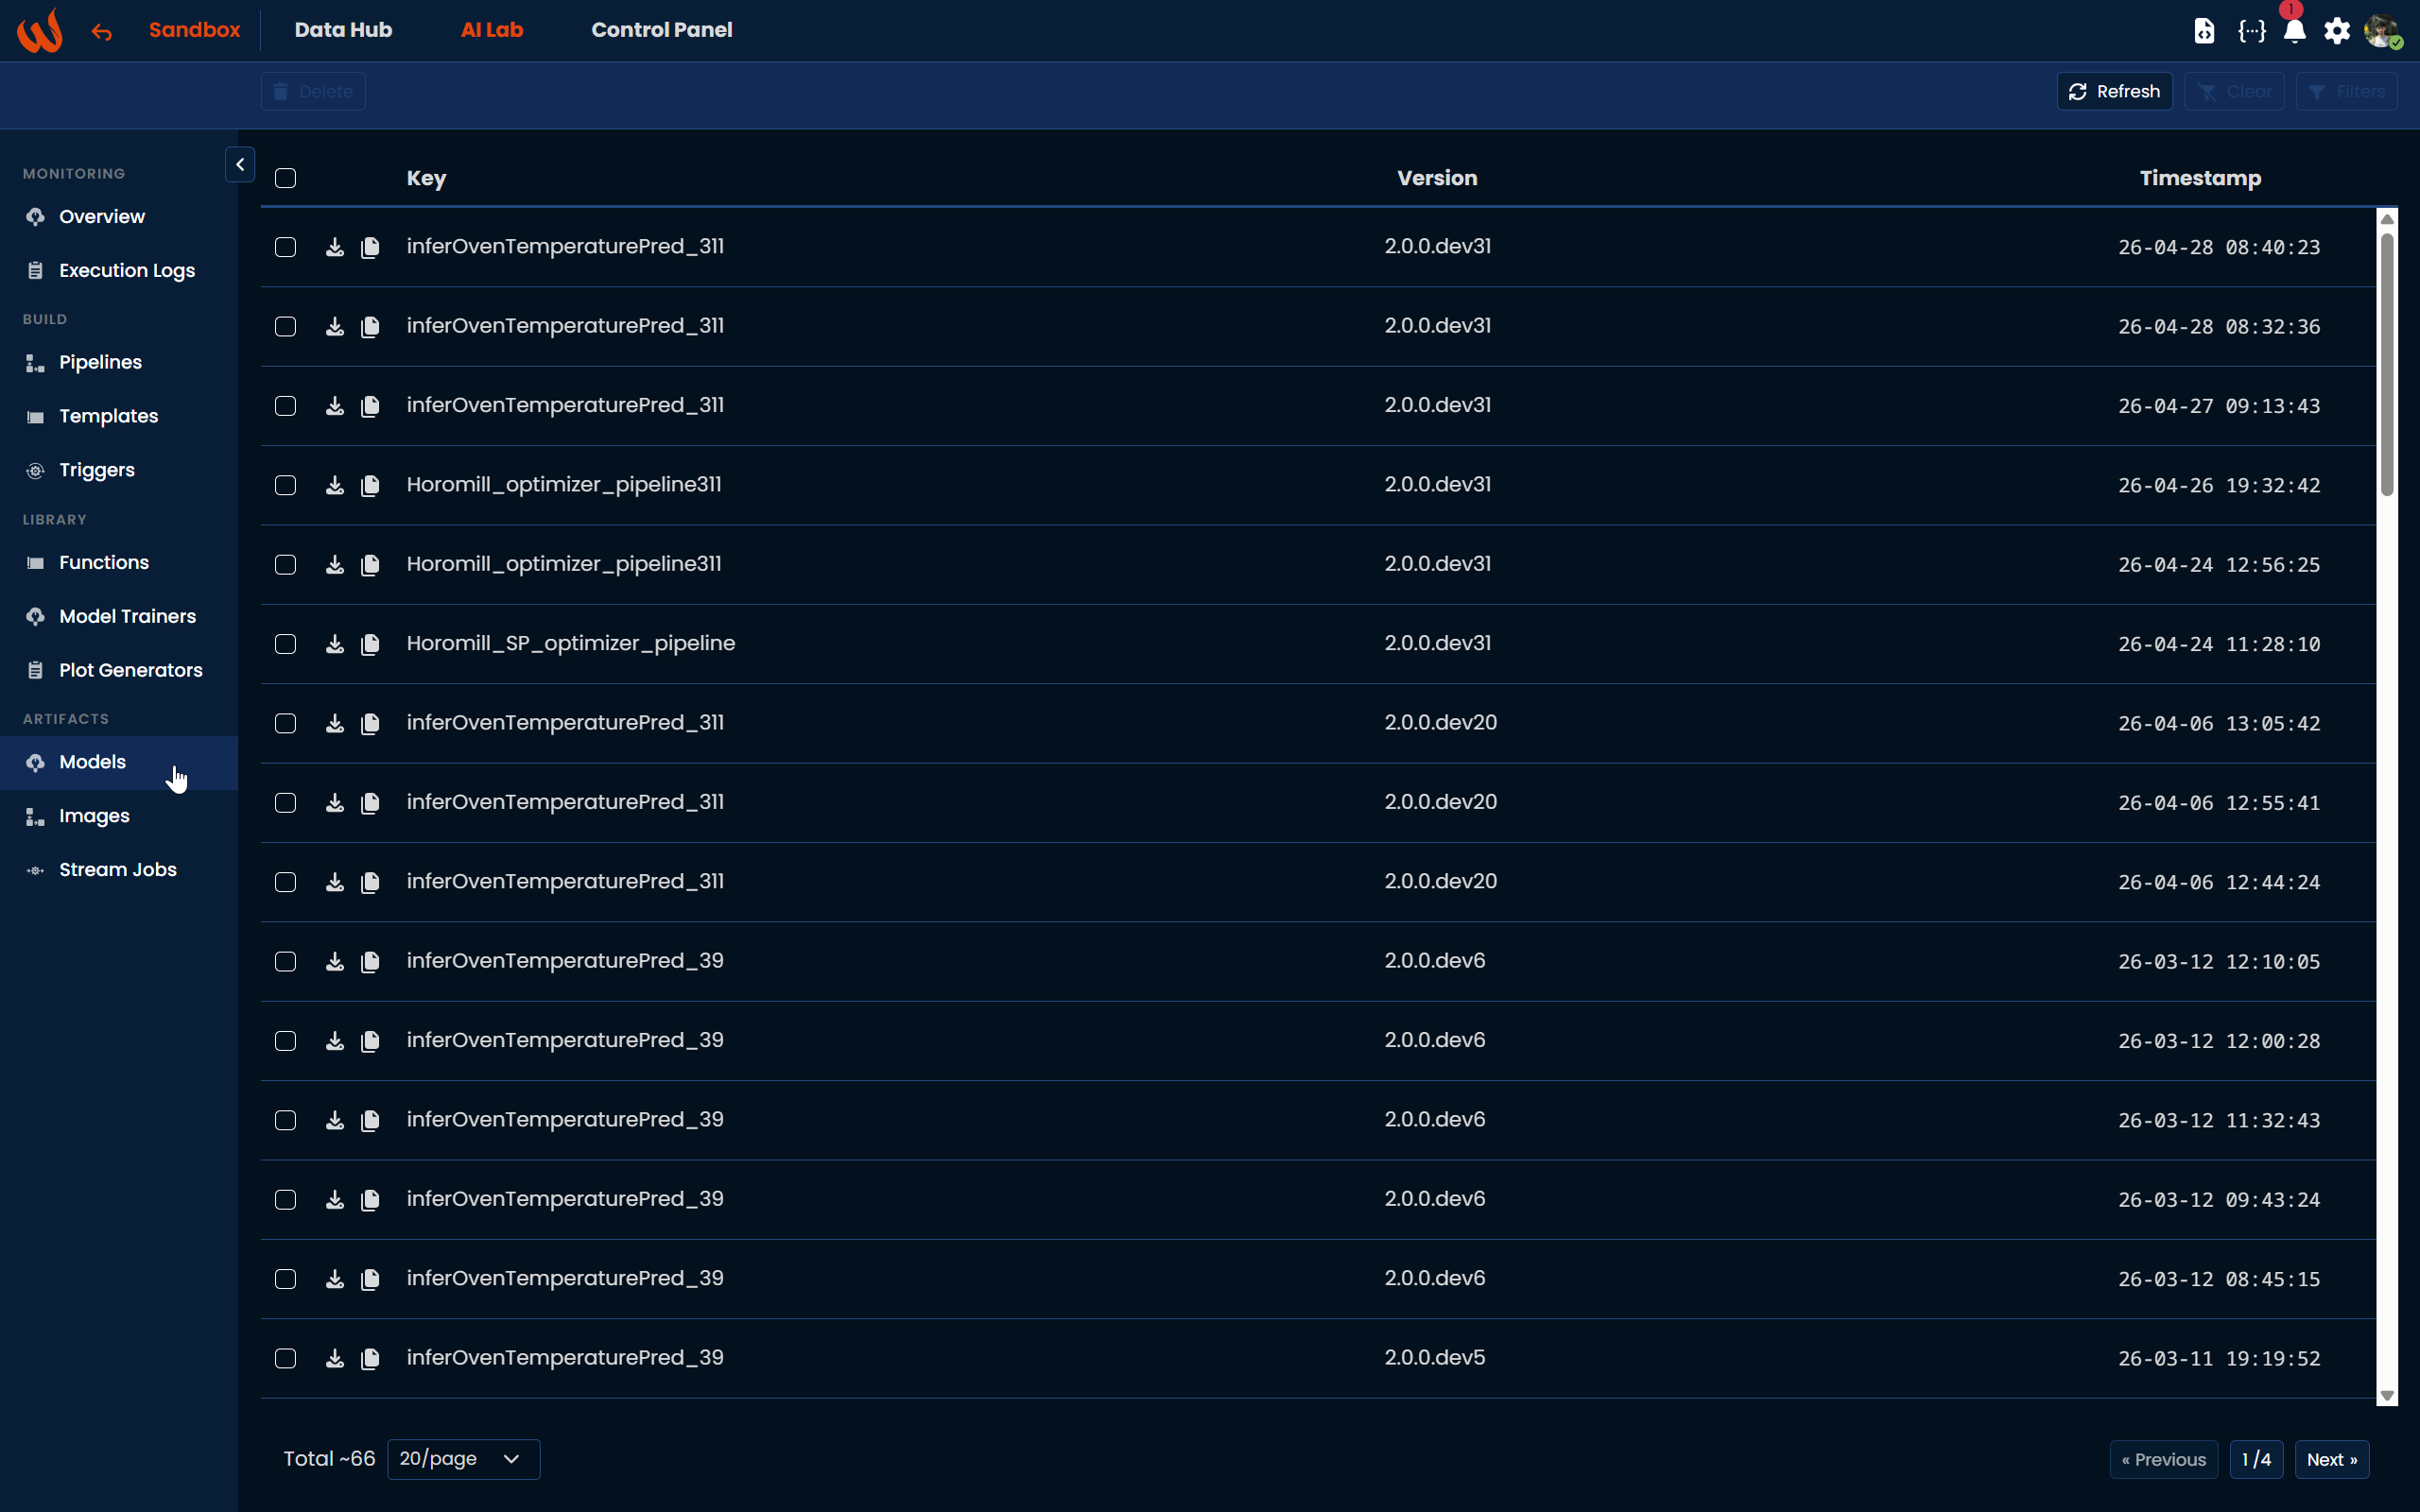
All pipeline images that have been built are available in AI Lab > Artifacts > Images. From there you can browse all existing images, check their IDs and creation timestamps, and delete images that are no longer needed.
Build and download an image
Inside the Wizata DS API Python toolkit, there are methods available for working with pipeline images. To build an image we simply need to send the pipeline key using the build_image() method. Once executed, this method returns a pipeline image ID, which references the newly created pipeline. We can then use this ID with the download_image() method to download the complete package. Here is an example:
# Build the pipeline image
pipeline_key = 'example_pipeline_key'
pipeline_image_id = wizata_dsapi.api().build_image(key=pipeline_key)

# Download the pipeline image
image = wizata_dsapi.api().download_image(pipeline_image_id=pipeline_image_id)
Once the method is executed, the response containing the pipeline image ID will look like this:
{
  "id": "20240614161549.v1_0_17.example_pipeline_key"
}
The ID format starts with the datetime (yyyymmddHHMMSS), followed by the version of the Wizata DSAPI package used, and then the name of the pipeline key.
Additionally, we can delete the created image by passing the PipelineImage object into the delete() method, like this:
wizata_dsapi.api().delete(image)Load related package entities
MLflow registered models will only appear in the pipeline image models folder. There is an article with information on how to register your model inside MLFlow here.
Once we have successfully built our image, we can access the scripts and models to perform executions.
Before continuing with the example, it is recommended to review the Model step article, which explains in detail every aspect of model execution.
To set up and execute your model using the context.set_model() method:
wizata_dsapi.api().upsert(set_my_model_example)

def set_my_model_example(context: wizata_dsapi.Context):

    # Building our image
    pipeline_key = 'example_pipeline_key'
    pipeline_image_id = wizata_dsapi.api().build_image(key=pipeline_key)
    image = wizata_dsapi.api().download_image(pipeline_image_id='example_pipeline_key')

    # Getting our saved model from the pipeline image
    model = image.models['model_saved_example']

    # List of all columns used to train the model
    input_columns = ['column_value_1']

    context.set_model(model, input_columns)
Updated 3 months ago